Showing posts with label arts and crafts. Show all posts

Friday, June 21, 2013

The Rockets Red Glare.

Today Brennan and I had fun putting together a fun project for our Summer decor.

Paper Rockets!
IMG_6726

First we started with some empty paper rolls.
IMG_6681

And some patriotic colored paper and card stock. See it there behind the photobombing 5-year-old?
IMG_6683

Then I just cut the paper to fit the rolls and let Brennan have at it with some modge podge.
IMG_6690

Ta Da!
IMG_6691

To make the caps for the rockets, I cut circles out of the paper. I just traced a cup to get the shape.
IMG_6692

Cut a slit halfway through the circle and shape and glue like so.
IMG_6693

Crafting is always better with some good music.
IMG_6695

Brennan testing out the zoomability of our rockets. As you can see, after the modge podge-ing I lost him to the water sprinklers. He was on a cookie break.
IMG_6697

Hot glue on some sticks. I just used some skewers. Oh, and I forgot to mention, I glued on some ribbon for the sparks.
IMG_6713

"3-2-1 Blast off! Wow, Mom, they zoom even better with the sticks!"
IMG_6718

And there you have it, our fun Fourth of July centerpiece! Does anybody else get the feeling that these rockets will spend more time out of the pitcher than in it? :)
IMG_6724


Here is the link to this picture on pinterest that was the inspiration for our rockets.


Wednesday, January 18, 2012

He's Wishin' For a Pencil Thin Moustache

Or at least he's having fun pretending with a clay one.  We finally opened up the box of clay that was in the goody bag Brennan got for winning the Christmas coloring contest.

1.17.2012 031

1.17.2012 032

1.17.2012 033

1.17.2012 036

1.17.2012 039

1.17.2012 044

I love when he cracks himself up. : )
Obviously moustaches were the big hit of the evening, but we also made some trees.

Clay Trees

And some owls.

Clay Owls

Fun.

Wednesday, December 21, 2011

A Last Minute Christmas Project

So all over the internet this month, (well, the parts of the internet I frequent anyway) I have been seeing (and loving) these waterless snowglobes that people have been making inspired by some at Anthropologie.

Anthropologie Snowglobes
{image source: anthopologie}

How cute and easy!  All along I had planned on waiting and recreating these next year...

...but then as I was switching over laundry this morning, Brennan being his normal curious self decided to open up a box that was stashed in the corner.

And lo and behold, a bunch of these were in there. (Obviously, long forgotten about by me.  I once upon a time had intentions to actually can something with them. Ahem.)

Ball Jar

I took that as a sign. : )  Let's make some snowglobes!

Time to gather some supplies.  We didn't put up our Christmas village this year, so I dug out the box of village trees and the fake snow.  Brennan wasted no time in doing some forest management.

Forest Management

I also raided Brennan's stash of plastic animals to see if any of them could become part of our display, but none of the ones I found seemed appropriate to be joyously frolicking in the wintery forest.

Animals

It actually kind of looked like Lassie and John Boy had rounded up some Christmas dinner candidates. ha.  I'll stick with the trees.

After I had all my goods in line, I selected a variety of trees and hot glued them inside the lids.

Little Trees

Next I enlisted my little helper to funnel some snow into the jars.

Funneling Snow

We had to use a bamboo skewer to make the snow go down.

Stirring Snow

Kudos to me for realizing how much of a mess this would be and using a tray to catch the extra. : )

A Little More

Our jars had a little too much snow.  The little trees look like they were buried in a blizzard.  Of course I kept them that way. :)  But if you do this, just use a little, especially if your jars are small like ours.

Time for a test shake.

Shake it Up

Add the rest of the forest.

12.21.2011 095

And the fences Brennan insisted on. (Because they're friends.)

12.21.2011 097

Ta-da!  You have a magical and  wintery centerpiece in less that 20 minutes.

12.21.2011 102

Tuesday, April 5, 2011

So, it's Tuesday...

...and last week I told you I would have some Arches pictures up by Monday.  Silly me.

The weather was great this past Saturday, so instead of editing pictures this weekend like I originally planned, we went to Lowe's and bought some plants...we went for lots of walks...we sat on the bench out front and soaked up some sun...and we played at the playground.

Of course Sunday and Monday brought us back to reality with snow and cold, and the plants we bought at Lowe's have been travelling back and forth from outside to inside so they don't freeze to death, but it was nice while it lasted.

At my next opportunity to edit pictures and blog; Monday while Brennan was at school, I went grocery shopping.  A chore that I am really beginning to hate, but it was getting to be pretty slim pickin's around here.  I swear I heard the cashier say "cha ching," when I left...it was that bad.  But we're good for awhile again now. 

During nap time, I HAD to finish a spray painting project, and reupholster a chair seat.  Since Brennan only sleeps for about an hour nowadays, if he sleeps at all, and I don't want him around the paint fumes...priorities people.  And just so you know, my desk chair is now cute again. 

Speaking of cute artsy craftsy projects, and because I can't possibly publish a post without a picture, here's a preview of the colors I am bringing into our kitchen. 
Red Polka Dot Tray
This is about the fourth time that tray has gotten a makeover.  Fourth time must be a charm, because I love it now.

OK, I guess I will share one picture of Arches today.  I know you all come around here to see the little man.

This picture was taken on the Devil's Garden trail, on the way to see the Landscape Arch.
Devil's Garden Trail
After our first day of hiking, Brennan wasn't so excited, or willing, to just see a big rock at the end of all these trails we were dragging him on.  Daddy to the rescue!

Don't feel sorry for the Daddy, though.  Brennan's need to be piggy-backed all day worked out great!  Jason was bummed that the place I booked us to stay didn't have a gym so he could workout.  (My thoughts on that...we were on vacation, a vacation where we would be hiking all day...why would it even cross my mind to look for a hotel with a gym? Duh.)  So lugging around a 39.4 lb. wiggly, squirmy little boy turned out to be a perfect workout. 

(Better him than me!) Ha. : )  

Thursday, January 20, 2011

My Super-Duper Awesome Mirror

I've been wanting to replace the mirror in our dining room for awhile.  It's been awhile because I wanted something really striking, but I didn't want to pay a striking amount of money for it.  Since I haven't been able to find anything I really liked locally, I hit the internet to find some inspiration.

The Sundance Catalog calls this mirror, The Factory Mirror.  This is the medium size for about $300.

{Image from Sundance}


Pottery Barn has one, too.  They call this one the Eagan Mirror, and it's about $700.

pottern barn eagan mirror
{Image from Pottery Barn}

This is what I came up with.  I call it the Super-Duper Awesome Mirror, and it only cost me $12!

Super Awesome $12 Mirror

I found these mirrors at the Dollar Tree (of course), and I just hung them butted up to each other.  It gives the illusion of one big mirror.  I actually bought four additional mirrors in case we hang it someplace else and want it bigger, but in the meantime, it's perfect. Or at least perfect enough. : )

Ideally, I would want to actually mount all the mirrors together on a big sheet, and then put a wider frame around them, but this works out the best for our current situation.  With Jason in the military, we move fairly often, and with each move we end up with more broken stuff, and more wear-and-tear on our good stuff.  So this way, if one mirror gets broken or lost, it's really no big deal.

Super-Duper Awesome, don't you agree? :)  Now go "build" one!  


Monday, January 17, 2011

Sunny Hearts

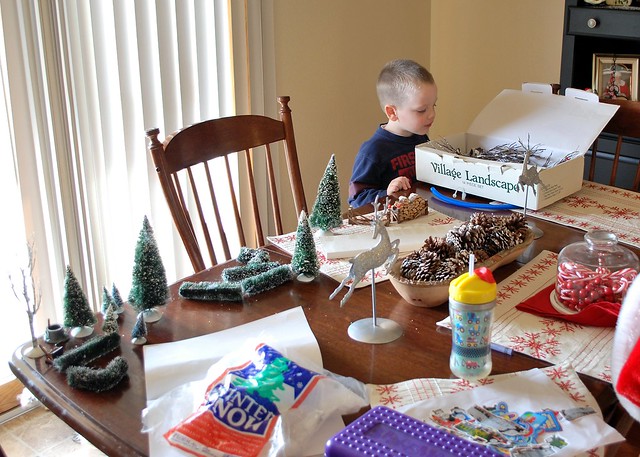
Brennan and I were long overdue on doing some crafty stuff together.  Since he started school and does arts and crafts three times a week, we don't get to do quite so many at home.  But Jason helped some friends move on Saturday, so I thought that would be the perfect time to get crafty.

I have been wanting to get some Valentine decorations up, and I really prefer the homemade kind, so the other day I found this idea at No Time For Flashcards. 

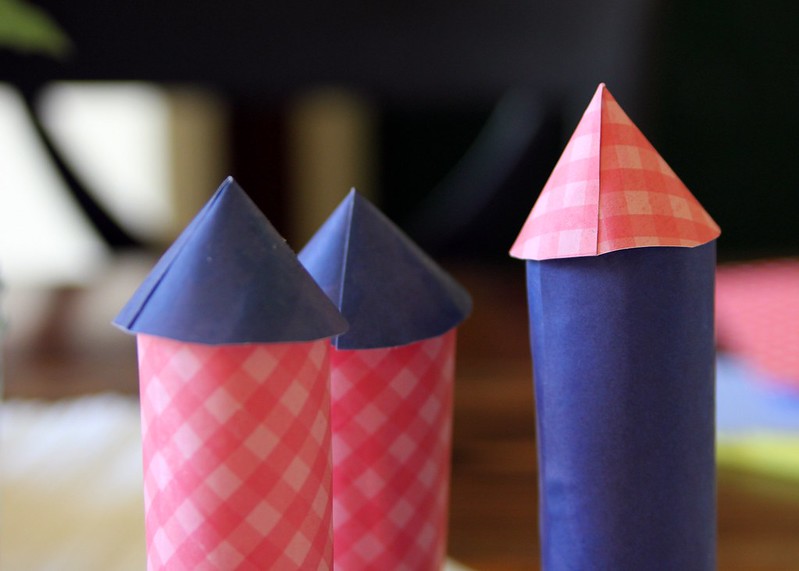
I just improvised and used stuff we had on hand, and I think they turned out pretty cute.

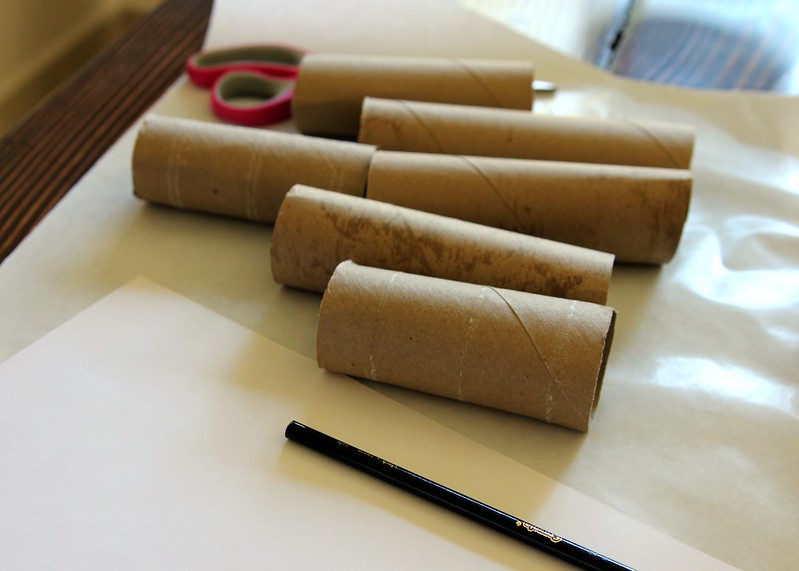
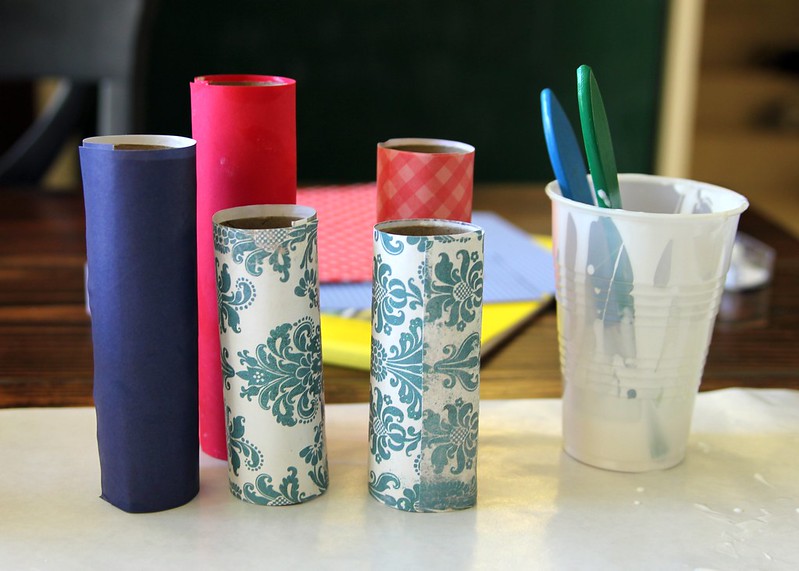
For our sun catchers we used:
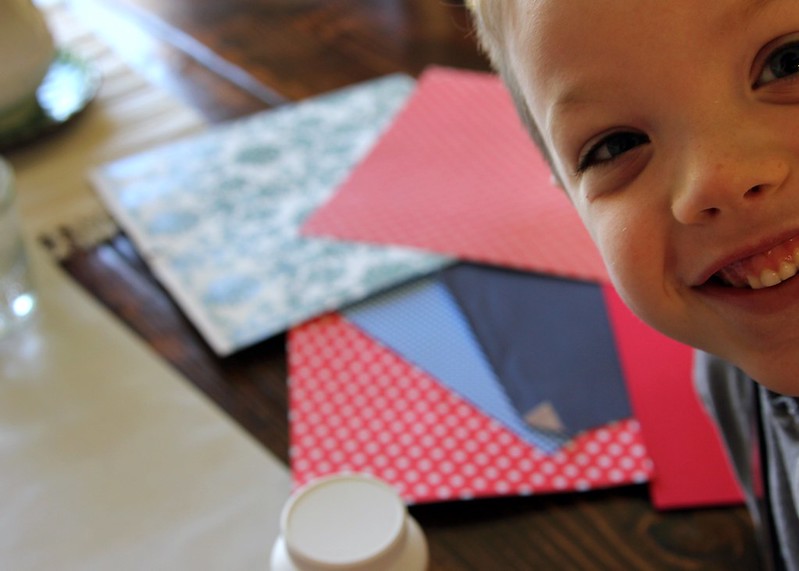
Construction Paper
Plastic Wrap
Confetti
Glitter
Glue Sticks
Thread (to hang them up)

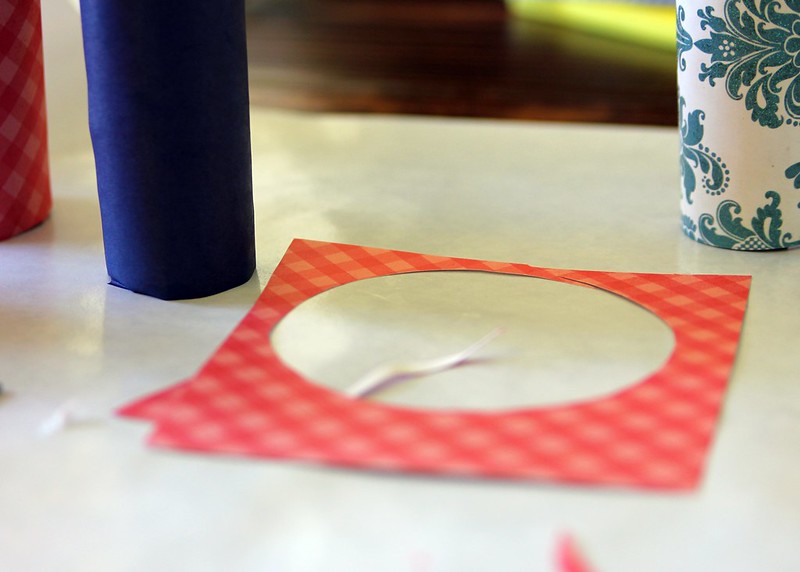
First I cut some hearts out of construction paper.  You need two hearts with the middle cut out for each piece.
Heart Sun Catchers -1
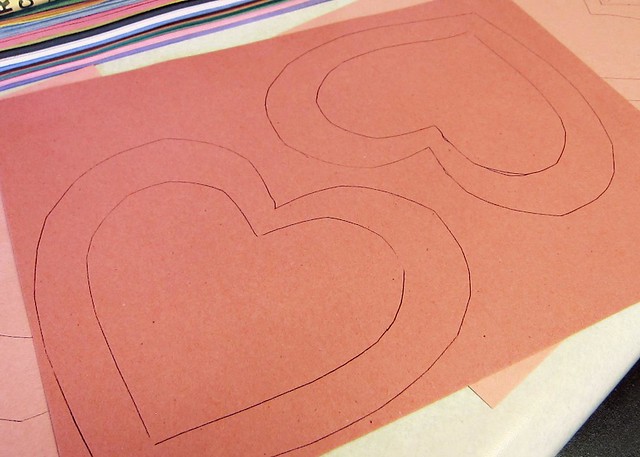
Don't be like me.  Avoid the meltdown or two from the child who just wants to get started already, and can't wait for mommy to cut the hearts out, and do this the night before or at nap time.


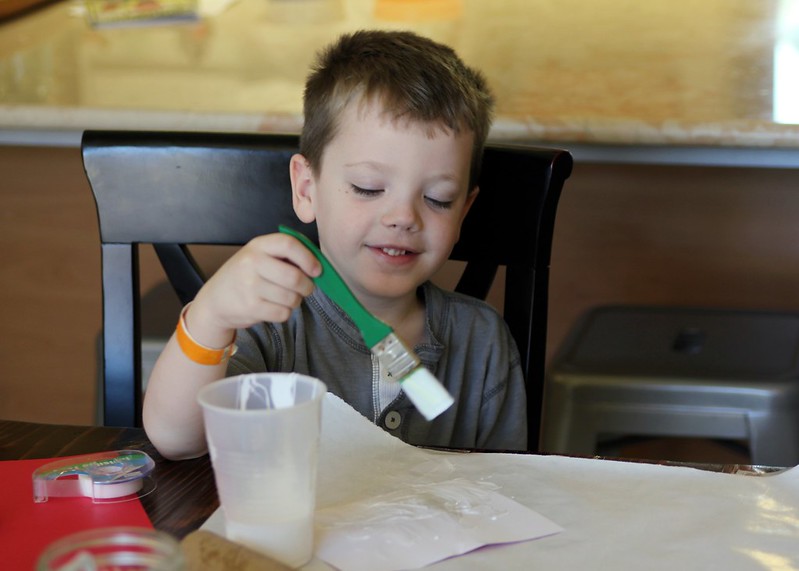
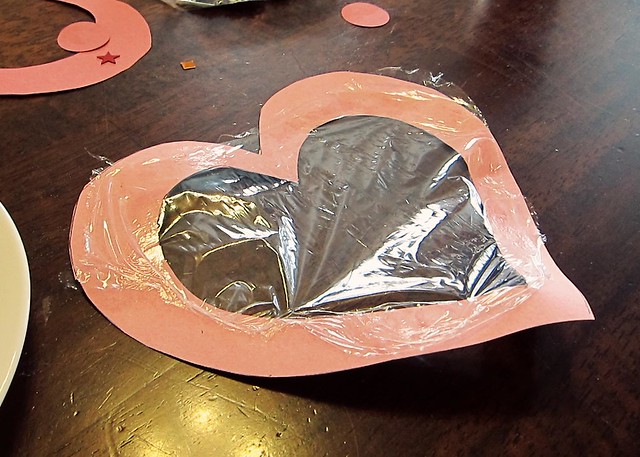
Put one heart down and slather on the glue stick. Put a piece of plastic wrap over the top. Or if you're Brennan, you "MOOOSH" it on. (Mooosh is his new favorite word.)
I did find that it's better to just leave the plastic wrap in a big rectangle and just trim it up later.
Heart Sun Catchers -3

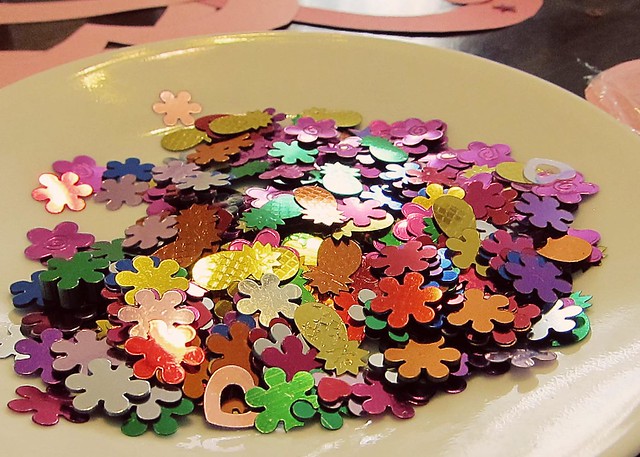
Here's the confetti we used. I just dumped it on a plate so it would be easy for Brennan to pick up. Ideally, we would have used heart confetti, but Brennan found it sometime over the summer, and then there was heart confetti explosion in the hallway upstairs. It was very festive.
Heart Sun Catchers -2

Next, sprinkle the confetti in the heart.  (Realize your idea of sprinkle is different than your child's, and sneak some out when he's not looking.)
Heart Sun Catchers -4

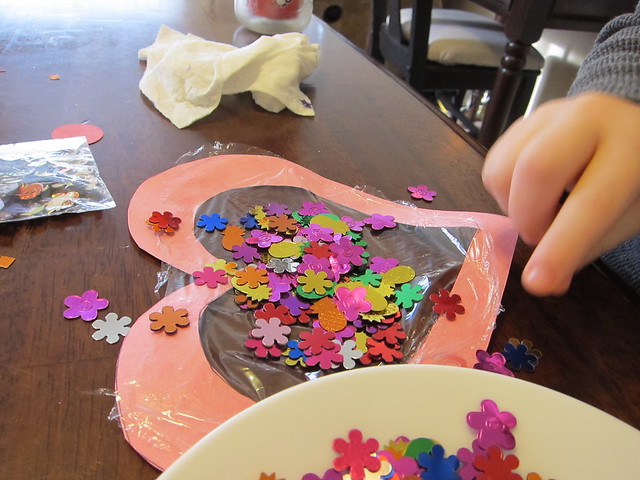
Add some glitter, because everything is better with glitter.
Heart Sun Catchers -7

Then MOOOSH another piece of plastic wrap on top.
Heart Sun Catchers -5

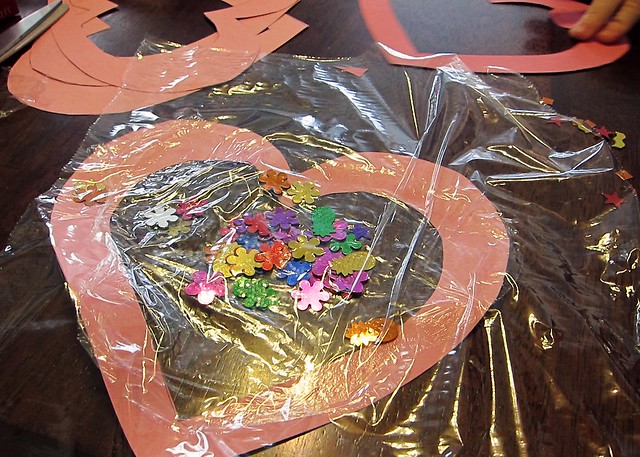
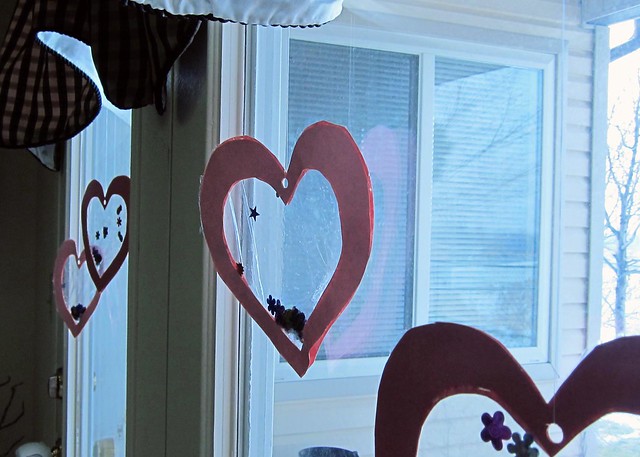
I apparently didn't take pictures of the next step, but you put glue on the other paper heart and glue it on top.  Just make a sandwich: paper heart, glue, plastic wrap, confetti and glitter, plastic wrap, glue, paper heart.  Then just trim the excess plastic wrap and hang them up.  To hang ours, I punched a hole in the top of the heart and then made a big loop with a piece of thread.  Taping them up would be fine, too.

Put them in your window or door and enjoy the love.
Heart Sun Catchers -8


ShareThis

LinkWithin

Related Posts with Thumbnails